

I have really missed having bread bowls when I make soup in the fall since going gluten free. We all know that gluten free bread rises out more than up, so bread bowls just don't work. Today I had an epiphany and they turned out great! You can use my recipe, or your own favorite gluten free recipe or mix.
Gluten Free Soup bowls (printable recipe)
Flour
blend
½ cup sorghum flour
1 cup brown rice flour
½ cup Sweet rice
flour
½ cup Expandex
Modified Tapioca starch
1/3 cup dry milk
powder
2 Tablespoon whole grain corn flour
½ cup Potato starch
2 Tablespoon yeast
¼ cup hi-maize Corn
Fiber
1 ½ teaspoon salt
WET
INGREDIENTS
¼ cup butter melted
2 eggs + 1 egg yolk
2 ½ cup Plus 2 Tablespoons warm water
1/8 cup sugar
3 Tablespoon whole psyllium husk
1 Tablespoon + 1 teaspoon xanthan gum
A few quick notes before we begin:
·
I like using the modified tapioca starch, but if
it is not available or you prefer not to use it, you can substitute normal
tapioca starch.
·
The Hi-Maize is a wonderful product, you can get
it from King Arthur Flour, it is a resistant starch, so it acts like corn
starch in the bread, but it acts like fiber in your body. If you can’t get it, or don’t want to use it,
substitute corn starch.
·
For the corn flour, I like Bob’s Red mill, whole
grain stone ground corn flour. Don’t use
corn meal it is simply too coarse.
·
The psyllium husk is available at your local
health food store. It makes the dough
more elastic and the final bread much better, plus it adds fiber.
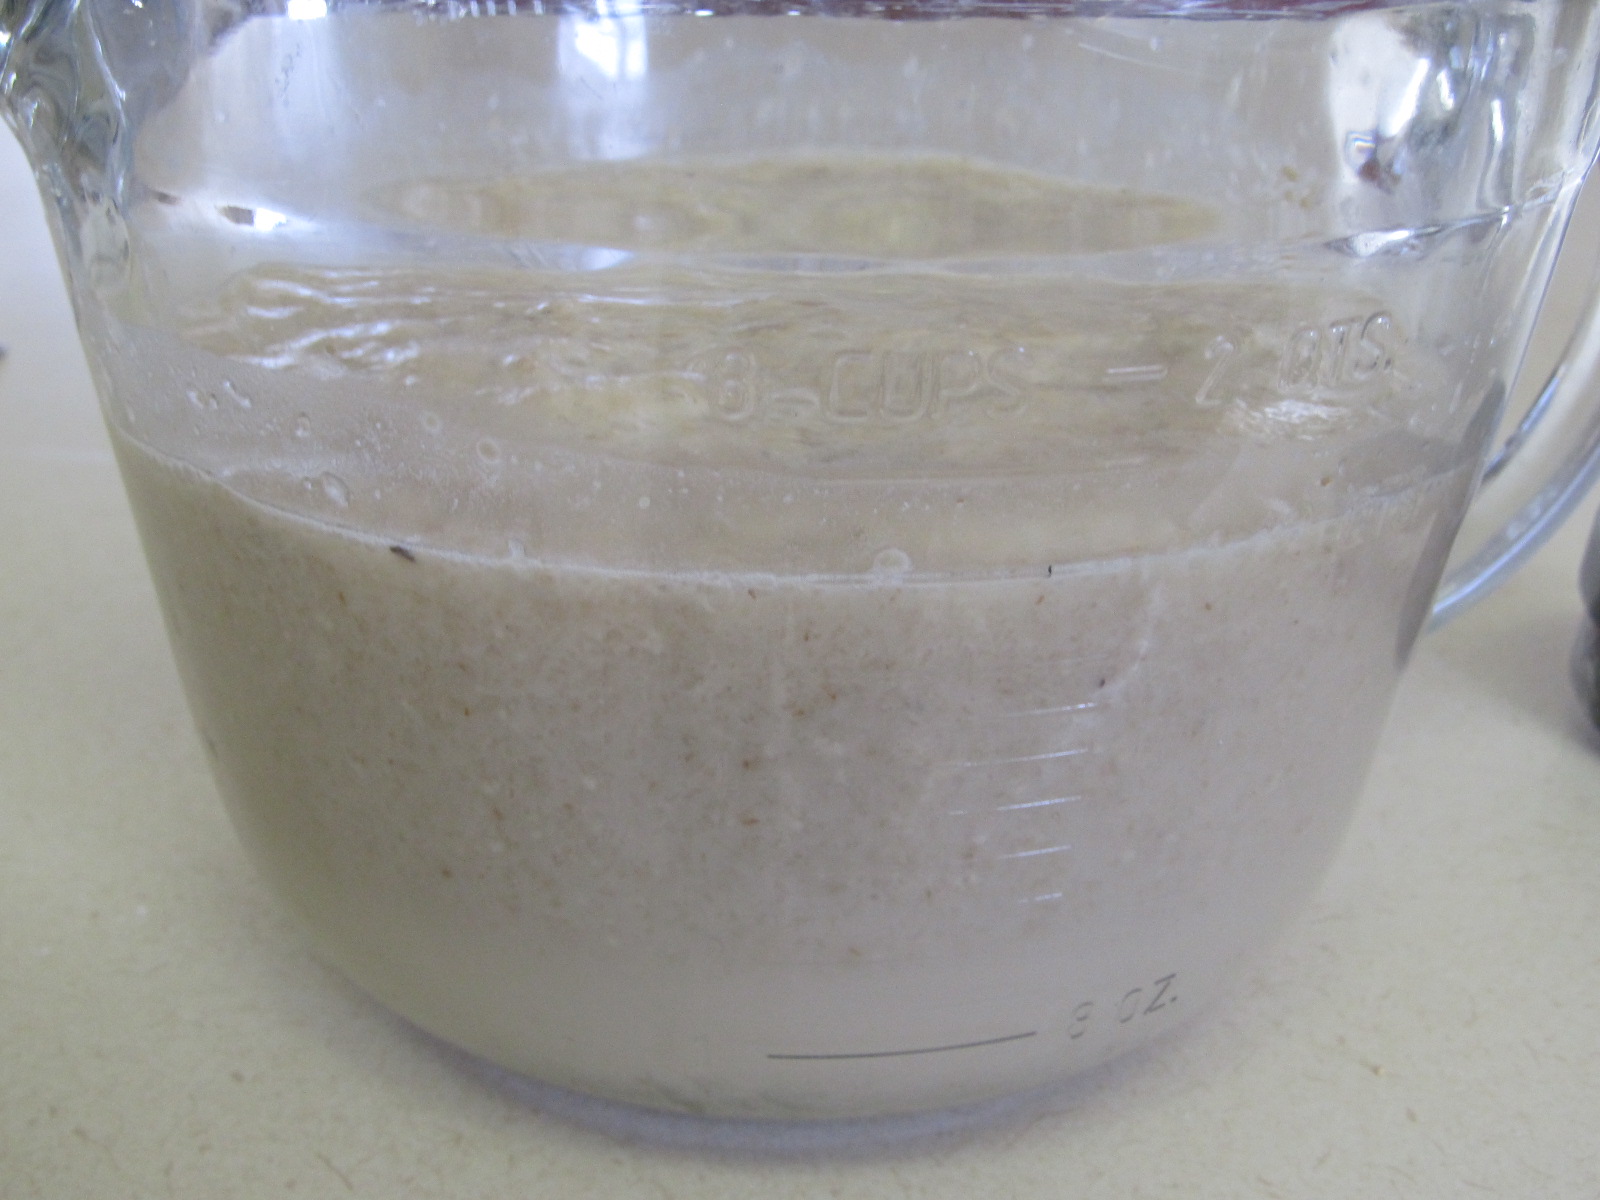 In a large glass measuring cup, measure out the warm
water. Stir in the yeast, sugar,
Psyllium Husk, and xanthan gum. Set
aside to proof.
In a large glass measuring cup, measure out the warm
water. Stir in the yeast, sugar,
Psyllium Husk, and xanthan gum. Set
aside to proof.
Measure out all the flour blend ingredients and put the bowl
of your mixer. Turn the mixer on to blend the dry ingredients, and then remove about one cup of the flour blend and
set aside.
 Add the eggs and the butter to the water/yeast
solution. Turn the mixer on low and pour
the liquid solution into the flour mixture.
Once the liquid has all been added and is incorporated, turn the speed up
to high and mix for 2-3 minutes. It will
be very wet and sticky at this point.
Add the flour mixture you set aside earlier. Mix for an additional 2 minutes.
Add the eggs and the butter to the water/yeast
solution. Turn the mixer on low and pour
the liquid solution into the flour mixture.
Once the liquid has all been added and is incorporated, turn the speed up
to high and mix for 2-3 minutes. It will
be very wet and sticky at this point.
Add the flour mixture you set aside earlier. Mix for an additional 2 minutes. 
Normally with gluten free dough, we only use a single rise
method but I wanted a stronger yeasty flavor.
I left the dough in the mixer bowl and covered it for about 45 minutes
to proof. Then I quickly turned the
mixer on to “punch down” the dough. 

Oil the inside of 4 oven safe bowls. I used my Corel cereal bowls. You could also use mini crocks or casseroles
that are about that size. Because gluten
free dough is so soft and spreads out, you need to bake it in a dish to get the
bowl form now evenly divide the dough into the 4 dishes and smooth the tops
with damp hands. Lightly brush the tops
with melted butter or oil. Yeast dough
will rise best in a warm, moist environment.
An easy way to create that is to turn your oven onto warm for a few
minutes and then turn it off. Then place
a shallow pan in the bottom of the oven and pour a cup or two of boiling water
into it. Place the bread bowls in the
oven and close the door. Allow to rise
until nearly double (only 30-45 minutes).


To serve, cut the top out by running a small serrated knife
around ½ an inch from the outside edge.
Make sure not to cut down too far and make a hole in the bottom. Use a spoon and gently pull up the plug of
roll. You can use to spoon to clear out
more roll, but make sure to leave at least ¼ inch on bottom and sides. Fill with soup and serve with the removed bread
on the side.
No comments:
Post a Comment